Doodling with embroidery

•May 23, 2012 • Leave a Comment

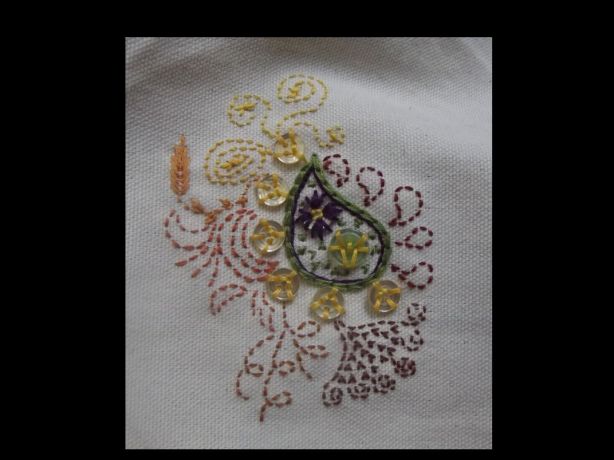
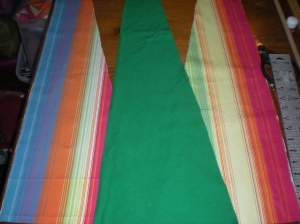
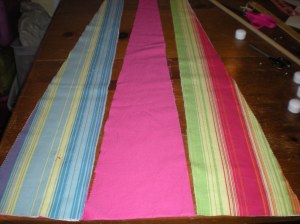
I have been doodling with my embroidery needles again.  When finished, this will be turned into a retro style bag.  Long triangles joined together at the bases and sides form the body of the bag.  This excellent canvas was once a curtain that I came across at Goodwill.  The lining will be a second, white cotton curtain.  Ironing the canvas out took some time, but was well worth the effort.  I have acquired a fair amount of floss over time, and it’s come out handy to transition the colors.  I think the buttons have added a fun touch, I hope they are not overdone.


A Sanskrit proverb to enlighten your day

•May 18, 2012 • Leave a Comment

Sanskrit proverb

Walking sticks

•April 2, 2012 • 3 Comments

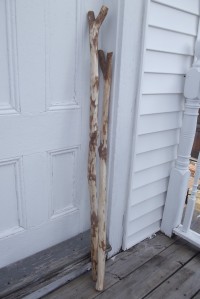
Late last summer I found a large pile of cute hemlock at the end of the driveway.   I asked the landowners if I could have some.   They said I was welcome to as much as I wanted.  It was cut the year before and the person who said they would take it away never did.  Free dry wood.  Big big score.  So when the weather is nice, I work on carving a few sticks from the bunch.  These two have just gone through a nice sanding and have fresh cuts to their ends.

The bonus in this project is that the best tool I’ve come to so far is one of my Dad’s old wood handle folding knives.  My dad passed when I was 12, so this is pretty special to me.  Needs a cleaning again yes, didn’t feel like getting oil on my hands tonight to get the sap off.


These sticks will eventually get a coating of tung oil, and decorated for sale.

I’m interested in finding out lore on hemlocks if anybody has some to share.


Blessings,

Rebecca Jean

Surprise Eggs

•March 15, 2012 • Leave a Comment

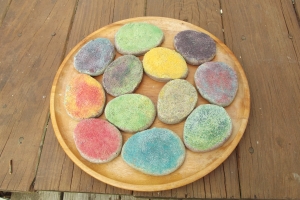
Break open to find the hidden semi-precious stone. Amethyst? Rose Quartz? Crystal?

Break open to find the hidden semi-precious stone baked inside!

An idea from KitchenWitch.org that I had to create. So much fun! I made some changes to the original “recipe”, but again I will ask you to visit the original site for the how to’s.

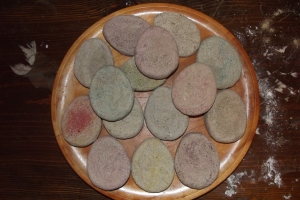
The basic components, though, are simple. Flour, salt, used coffee grounds, sand and water. These are mixed into a dough, a gritty clay really, and formed into the shape you want. A surprise is hidden inside. Mind you, these do go in the oven to harden, so it must be something that won’t melt. I chose small, tumbled, semi-precious stones such as rose quartz, amethyst and clear quartz. There is baking spray used so the stone will release when these are cracked open to find the surprise.

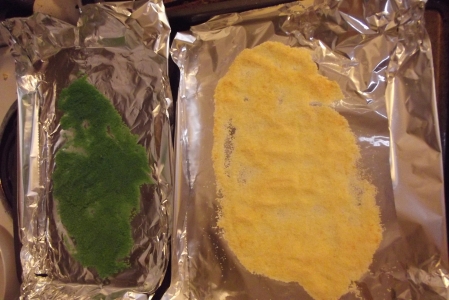
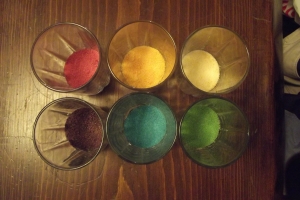
I experimented with paint on my test batch for the decoration, but I found my acrylic soaked in and it would take a few coats to get a really good effect. Plus, I really wanted to try the salt glitter I found about. This is a simple recipe I have found everywhere. Simply add food coloring to salt. I did two tablespoons of salt to a quick squirt of coloring. Spread it out on a baking sheet. I used a layer of tinfoil too, so I could just fold the foil and pour the salt into individual containers. I mixed some of the colored salt into each egg I shaped.

The last thing to do was decorate. I spread white glue on top of each, and sprinkled on the salt glitter. I think they look like awesome geode slices 🙂 They turned out better they I could have hoped! Truly a great alternative to plastic eggs, and with a better surprise then candy.

Baking salt glitter. Made with food coloring and table salt.


Finished salt glitter

A batch of baked eggs, before decoration.

Salt Candle Holders…via Wee Folk Art

•February 16, 2012 • 2 Comments

This is an idea I had to try that I found at  Wee Folk Art  !  For their celebration of Candlemas a short time ago she and her little ones made snow candles.  Salt, a glass candle holder and glue, modge podge or sealant.  I’ll let you follow the link so she gets the credit as properly as I can manage.

I will say I made mine with Elmers white school glue, iodized salt, a foam brush, a stencil brush and water.   Wax paper comes in handy, as does a paper plate.   I let mine dry for about 18 hours or so in a 60F house, and  still wanted to  pull away while working, but those parts may just not have adhered well.   There seemed to be some reaction between the two if there was too much salt.  Like a salt glaze perhaps, I am not too sure.   This one here is with one layer of glue at full strength for the base and one coat of watered to seal it in.  The second layer took longer to full dry, and some salt finds it way off, but it has become pretty stable since.  Being and overdoer at time, I will likely give it one more coat, just to be on the safe side you understand.

I am quite happy with the results,  though be warned, the process is a bit tricky, at least with this glue.   Still, I can not wait to try this with the colored glass tea light holders that just found their way home.

Please, do only use glass that is tempered and designed to be a candle holder.  I have had a jelly glass shatter with a little candle in it, so this is not an idle reminder.  I love candles, but I love my three readers and do not want to see anybody hurt or worse.

Namaste and Brightest Blessings,

Rebecca Jean


PS  Something to try with it when I perfect this, ah, who am I kidding, probably the next go round… Salt glitter

Here I go again

•February 9, 2012 • Leave a Comment


Be good to yourself and others this Valentine’s day.  There is love in the world, and you can create love.  Namaste.


Here be stripy, bright bags in the making.

•June 24, 2011 • Leave a Comment

Bags are useful and necessary.  So who wouldn’t like one that’s fun, colorful, adjustable and…reversible.  That’s what these next two bags shall be.

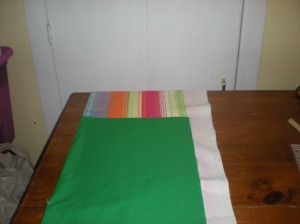
I am near the point of assembly, so here’s a sneak peak.

The stripy fabric is from a cotton curtain, light canvas weight and make, rescued from Goodwill.  The linings are remnant pieces from Jo~Ann Fabrics.  Pretty darn good mates I say.

Still to be determined if I am adding pockets and or snaps to these.  I also found some lovely pearl style snaps on a Goodwill trip.


Next things on the line, earrings by special request, stitch markers by request and playing with making a leather belt pouch.

Cheers.

xoxo

Bekka

Finally Faery Wands!!!

•June 11, 2011 • Leave a Comment

Faery Wands Faery Wands Faery Wands

The idea to make quality, hand made, unique faery wands came to me while at work.   Toy stores wands are usually plastic with plastic beads, plush fabric stars, ribbon and etc etc.   I feel children (or really cool adults) deserve better.  Wands are one of the most important parts or magical play.  So why skimp.  (Sorry Hoggle)

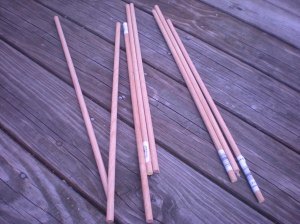
So here’s where I started.  Oak dowels.

I, of course, cut these in half…

Didn’t get a shot, but next with my dremmel I drilled a hole in one end, in order to thread the wire through to string on beads and such.  Just wrapping the wire around the dowel was not going to keep it in place.

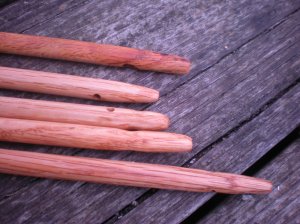
I shaped and rounded the ends using sanding bits on the dremmel, adding character to each.  To finish the wood, I coated each with lemonpolish and cleaning oil.

May I say they looked amazing just after this.


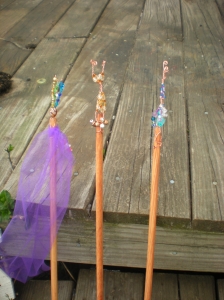
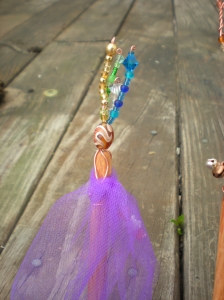
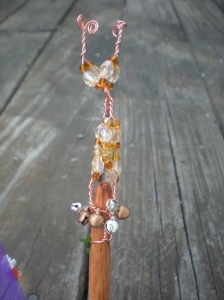
Then the real fun begins, dressing them with with beads, glass, semi-precious stones, trinkets like found rings and old lockets.  Copper wire is easy to work with, and a touch of power too.

So, here are some of  the results 😉 enjoy!


So far tonight

•May 5, 2011 • Leave a Comment

These are what I have finished so far tonight.  Who knows how much longer I’ll keep going, but seems the going is good at the moment.

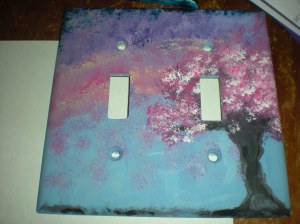
My abstract of a Cherry tree at sunset.

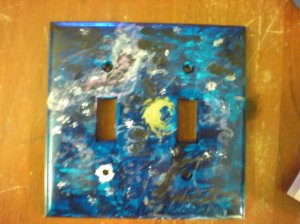
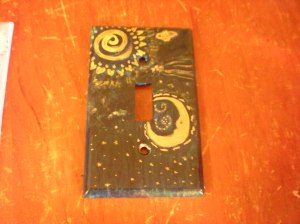
Celestial heavens.

Keep tuned, I plan to add any others I finish tonight to the gallery.

So,  few hours later, I have three more tonight.

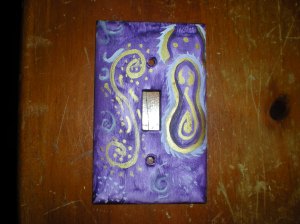
Spiritual Self

By the Sun and the Moon

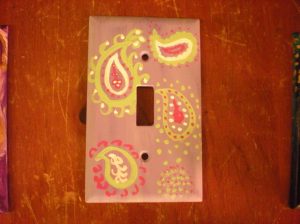
Paisley Funky.

Acrylic paints.  Original designs.

Fairy Wands and a jewelry box, let’s begin!

•May 4, 2011 • Leave a Comment

I am proud to say I am a seller at a local shop, and am preparing for sale at another.  Both these shops are metaphysical in nature.  You’re likely to find herbs, tea blends, salves, oils, jewelry, hand knit items, yarn  and more at each.  Most decidedly, but not intentionally, having few offering for children.  Especially for children’s fun and play.  I have a few ideas to remedy this.  I’m starting with fairy wands and bubble wands.

The materials so far are pretty simple.  I did buy the dowels from the hardware store, and some wood care oil.  The rest I have in my ever building pile of materials and supplies.   Ribbon, wire, beads, pliers etc.  My supplies come from every likely and unlikely source.  Goodwill and the consignment shops are always on my list.  There’s also Restore, a shop which accepts donations of extra building materials and housing supplies.  The money they get goes to Habitat for Humanity.  As you can tell, I prefer to use second hand materials whenever possible.  Re-use, re-love, re-imagine.

These wands I am making with great care.  Here are the dowels, oak and just cut.

Now here they are, 5 of them ready for decoration.  They have been sanded, the ends shaped and rounded with a dremmel hand tool.   Next I coated them with orange oil wood treatment.   This was my first time at this, and I simply love how they turned out.  Gorgeous and natural.
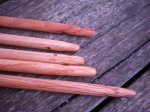
Keep an eye out for what they will look like next.

I said something about a jewelry box, did I not.  This cutie I found a Goodwill.  Looks ok pre-fab…but I plan to make it look even better and truly unique.
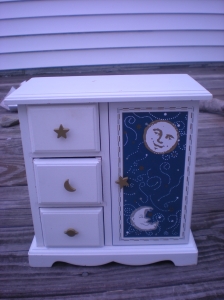

I think that’s all for tonight.   It is time to get back to work :).